The shape of a line or area can be changed by moving the points that define its outline.

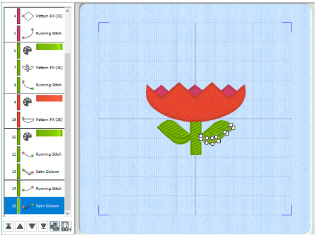
To choose a different object, click it on the work area or the FilmStrip. Alternatively, use the left and right arrow keys to step through the objects in the order they are used in the design. When selecting an object directly on the work area, click near one of the points that define it.
If the visible colors or the object filters are changed, the last visible object is automatically selected. Therefore, change the view of the design before selecting the object you wish to edit. See Viewing Pictures and Designs.
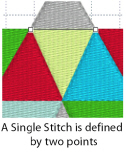
When the desired line or area is selected, its points can be moved. The points are shown as small circles or squares. Some stitch object types, such as Single Stitches have a fixed number of points.

Square points are used for straight sections and corners. Round points are used for curves.
Other objects, such as fill areas, running stitch and satin lines, can have any number of points, and points may be inserted and deleted, allowing greater control over their shapes. The start and end points for fill and satin areas can be changed, typically to reduce the need for trimming. Satin areas have angle lines that are used to control the satin angle.
|
|
|
|
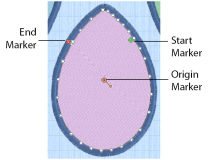
Fill areas have as many points as needed to define their outlines, and also have moveable start, end and origin markers |
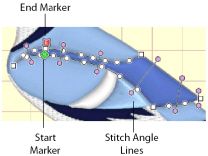
Satin areas have movable start and end markers and adjustable stitch angle lines |
Color change and stop commands, and alignment stitches are shown as a single point when selected.
Move the Start and End Points for Areas
Change the Stitch Angle for Satin Areas

