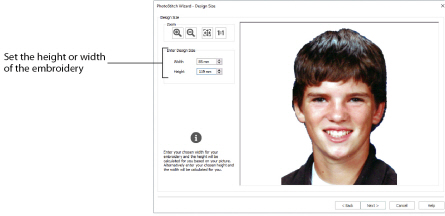
Use the Design Size page to set the height or width of your embroidery, with the other dimension calculated from the picture.
Enter Design Size
Set the height or width of your embroidery, with the other dimension calculated from the picture.
Use the Zoom functions to change the view of the picture or embroidery.
Use Zoom In
to magnify the view. Move the pointer over the picture or embroidery and the pointer changes to the zoom in pointer

. Then either click a point you want to zoom in towards, or click and drag a rectangle around the area you want to zoom in to and release the mouse button to zoom. When zoomed in, use the scroll bars to move around.
Use Zoom Out
to shrink the view. Move the pointer over the picture or embroidery and the pointer changes to the zoom out pointer

. Then click a point you want to zoom out from.
Click Zoom To Fit
to fit the picture or embroidery to the preview area.
Click Real Size
to view the picture at its real size in pixels. This means that one pixel of the picture uses one pixel of the screen. Alternatively, view the embroidery at a magnification as close as possible to the Real Size setting you chose in mySewnet™ Configure.
Back
Return to the Picture Options page.
Next
Go to the Choose Thread Colors page.