Using the Cross Stitch Design Wizard
Use the Cross Stitch Design Wizard to convert pictures automatically to crosses. Also use the Cross Stitch Design Wizard to load a picture as a background only, load an existing cross stitch design or start a new design with no picture.
The Cross Stitch Design Wizard is started by New and also when mySewnet™ Cross Stitcher is started.
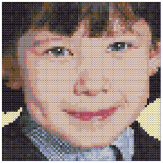
Create a new design by converting color areas in a picture to crosses. Choose an existing picture or obtain a new picture from a scanner or digital camera. If desired, crop the picture and straighten scanned pictures. Set the cross size and design area in crosses, or select a hoop to set the design area. Select the maximum number of colors and the desired thread range to use for the cross colors.
Load Picture for New Cross Stitch Design
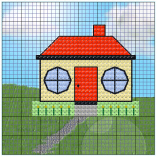
Create a new design by loading a picture. If desired, crop the picture and straighten scanned pictures. Set the cross size and design area in crosses, or select a hoop to set the design area. The picture is loaded into mySewnet™ Cross Stitcher.
Load Existing Cross Stitch Design
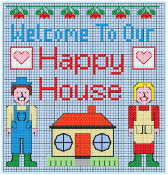
Open an existing cross stitch design to preview it in the wizard, then close the wizard and load the design in mySewnet™ Cross Stitcher. The design area and palette will be set according to the design loaded.
Start a New Cross Stitch Design with no Picture
Select the desired cross size and design area, then close the Cross Stitch Design Wizard and start with a blank work area.