Use the grid options to turn the background grid on and off, optionally with numbered grid lines. The grid may be used to help align stitches, adjust selected blocks, draw border shapes precisely and so on. The grid options are:
-

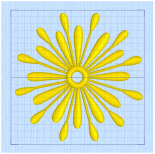
: show the grid
-

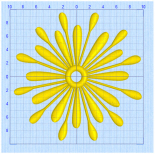
: show the grid with numbers on the even grid lines at the top and left of the grid
-

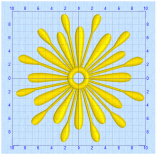
: show the grid with numbers on the even grid lines on all sides of the grid
-

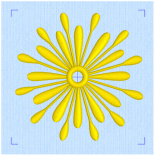
: hide the grid
Each time the grid icon is clicked, the next grid option is selected. The grid is initially set to Grid Numbered Half. All open embroideries use the same grid option, and the setting is remembered for the next mySewnet™ Stitch Editor session.
The grid is initially set at 5mm intervals, so the apparent size will vary depending on the size of the currently active embroidery and the zoom level. Adjust its size between 2mm and 50mm in the View tab.
If Inches are chosen for Show Measurements in mySewnet™ Configure, the nearest equivalent Grid Size is shown in inches in the View tab.

|

|
|
Use Grid On
Shortcuts: View Tab: Keys: Alt, V, GO |
Use Grid Numbered Half Shortcuts: View Tab: Keys: Alt, V, GN |

|

|
|
Use Grid Numbered Full Shortcuts: View Tab: Keys: Alt, V, GF |
Use Grid Off
Shortcuts: View Tab: Keys: Alt, V, GR |
Set the grid size between 2mm and 50mm, depending on what setting is most suitable for your screen resolution and embroideries. Type in a figure or use the up and down arrows to change the number.
The initial setting is 5mm.
If you position the arrow pointer over the box without clicking, the alternative units and range will be shown.