Use Insert Lettering to insert letters from any mySewnet™ Embroidery Software font into the current design. The character is automatically selected so that it can be moved, resized, mirrored, rotated, copied or cut. Characters are inserted at a fixed size relative to the 'A' character in the font.

-
Click Actions
 on the toolbar and choose Insert Lettering.
 -
Choose Edit > Insert > Insert Lettering.
Insert Lettering into a Design
-
Click Actions
 on the toolbar and choose Insert Lettering.
 -
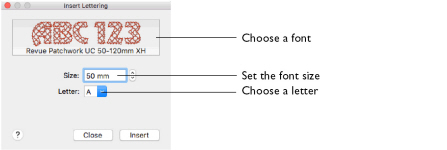
In the Insert Lettering dialog, click the displayed font. The Font Viewer opens.
-
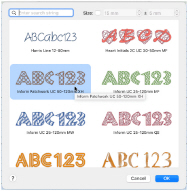
Scroll through the Font Viewer to select a font.

Alternatively, search for a font by name or size. -
In the Insert Lettering dialog, set the Size in millimeters as desired, from 3mm to 200mm.
Note: This sets the height of the 'A' character in the font. Other characters and symbols are sized accordingly. -
Choose a letter from the pop-up menu and click Insert. The letter is placed in the work area.
-
Select and Insert other letters to create a word.
-
Click Close to finish placing lettering.
The last placed letter is automatically selected with Box Select , so you can adjust it as desired.
 -
Repeat to place additional text as desired.
Font Viewer
Use the Font Viewer to browse fonts and select a font for lettering.
To Open the Font Viewer
-
In the Insert Lettering dialog, click the displayed font. The Font Viewer opens.

-
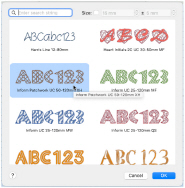
Scroll in the viewer to choose a font.
Alternatively, enter a part of a font name in the Search box to search for a font, or search for fonts by size. -
Click on a font to highlight it.
-
Click OK to select the font.