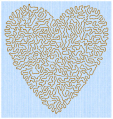
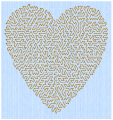
QuiltStipple fill areas ![]() use stipple stitch in curved or straight lines. Vary the gap between stitch lines, use running or triple stitch, and add holes.
use stipple stitch in curved or straight lines. Vary the gap between stitch lines, use running or triple stitch, and add holes.
|
|
|
|
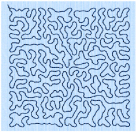
QuiltStipple Fill using a curved style |
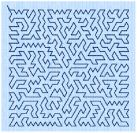
QuiltStipple Fill using a straight style |
To show the QuiltStipple Fill dialog
-
Click a QuiltStipple fill area so that the points defining its shape are shown, then Control–click and choose Properties.
-
Select QuiltStipple Fill in the pop-up menu in the the fill area section of the Create toolbar, then click the Options button and select Fill Area and Line from the pop-up menu.
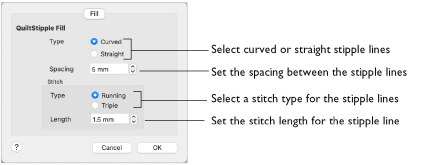
Type
Use straight or curved quiltstipple lines in the fill.
-
Select between curved or straight fill lines.
Spacing
Use Spacing to set the preferred distance between lines of stitching. The distance can be set from 1 to 20mm in steps of 0.1mm. It is initially set to 5.0mm.
Note: Where possible, this is also the border inside the area, between the edge of the area and the fill pattern.
-
Click the Spacing up and down arrows, or enter a number.
Stitch
Use Stitch to select the stitch type for stitching out the fill, and the length of the stitches used. Set stitch length from 1 to 12mm in steps of 0.1mm. The initial setting is 1.5mm.
-
Select Running or Triple stitch, and click the Length up and down arrows, or enter a number.
