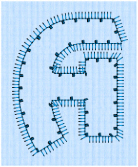
Motif line is used for decorative stitches and details, and to frame other embroideries.
To show the Motif Line dialog
-
With a motif line selected, Control–click and choose Edit Motif Line.
-
With a motif line selected, click the Properties button.
-
Convert a line type to Motif Line in the Object window. The Properties dialog appears.
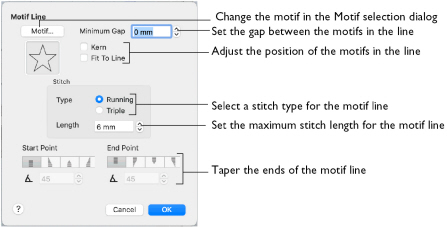
In the Motif Line dialog you can select motifs, and set the motif spacing, stitch type and maximum stitch length when creating a motif line.
Motif
Select a motif to use for the motif line.
-
Click the Motif button to choose a motif. See Motif Selection.
Minimum Gap
This is the minimum amount of extra stitching that is placed between the motifs along the line. Minimum Gap is in addition to any spacing that is part of the selected motif.
Fit To Line
Select how the motifs follow the curves of the line.
|
|
|
|
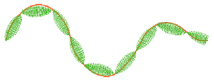
When Fit To Line is off, the ends of each motif are placed on the line. |
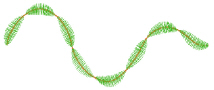
When Fit To Line is on, each whole motif is adjusted to fit along the line. |
Kern
Kern automatically increases the space between adjacent motifs, so that the motifs fit along the line without overlapping.
Stitch
Select between Running and Triple stitch for stitching out the motif line.
Set the maximum stitch Length from 1 to 20mm in steps of 0.1mm.
Note: Length is initially set to the recommended value for each motif.
Tapered Ends
The Start Point and End Point settings can be used to taper the ends of your motif lines.
Note: Use these options to create mitered or pointed ends for your motif lines.
Start Point
Use these options to change the type of line beginning for the motif line. Select a taper type, then set the Taper Angle

.


Use these options to change the type of line end for the motif line. Select a taper type, then set the Taper Angle

.


