to measure the distance between any two points on an embroidery. Click the Get Length icon

and the mouse pointer changes to the Measure pointer

. Then click and drag a line across an embroidery. The length of the line is displayed. Right-click to deselect.
For example, use this to obtain the width of a column of stitches or the length of a movement stitch.
The length is shown in millimeters or inches, according to the setting for Show Measurements in mySewnet™ Configure. The alternative units are shown in parentheses.
Shortcuts
-
View Tab:

-
Keys: Alt, V, L
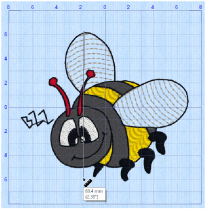
Measure the Height of a Bumblebee Embroidery
-
Click File, New

to open a new window.
-
In the Quick Access toolbar, click Insert

.
-
In the folder Documents\mySewnet\Samples\Stitch Editor\Stitch, open the Bumblebee 2 New embroidery to load it.
-
In the View tab, click the Get Length icon

. The mouse pointer changes to the Measure pointer

.
-
Click and drag to draw a line across the bumblebee embroidery from top to bottom
-
Read, and if desired, make a note of the number.
-
Repeat the click and drag to measure any other distances, as required.
-
Right-click to deselect the function.