|
|
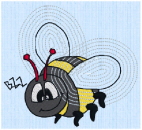
The bumblebee wings are in Echo Fill using 5 echo lines, a spacing of 2mm, rounded corners, and are embroidered in running stitch. |
Echo Fill places echo lines within or around a shape. Choose from rounded, square and diagonal corners, and set the gap between the echo lines and the number of lines, and select the stitch type and length.
|
|
|
|
|
Rounded corners |
Square corners |
Diagonal corners |
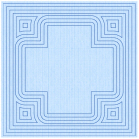
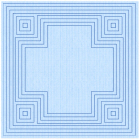
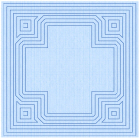
The Echo Fill properties dialog enables you to place echo lines within or around a shape. Set the style, gap, stitch type and stitch length.
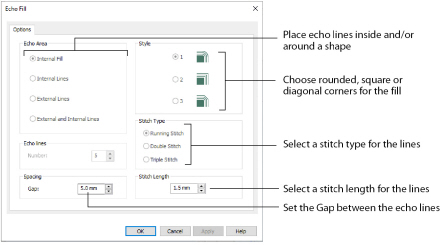
Choose from 1, 2 or 3. For a square shape:


Rounded corners (1) is initially selected.
Stitch type
Select a line type for the echo lines in the fill. Choose from:
-
Running Stitch
-
Double Stitch
-
Triple Stitch
Set the Spacing to the preferred distance between lines of stitching.
Set the Spacing from 2mm to 20mm in steps of 0.1mm. It is initially set to 5mm.
Stitch Length
Set the stitch length for the echo lines from 1 to 12mm in 0.1mm steps. The initial setting is 2mm.
Create Echo Fill Wings for a Bumblebee
-
Click File, New
 to open a new window.
 -
In the Quick Access toolbar, click Insert
 .
. -
In the folder Documents\mySewnet\Samples\Stitch Editor\Stitch load the 'Bumblebee 2' embroidery.
-
Click the Object tab. The pointer changes to the Object Select pointer.
-
Click the upper wing to select it.
-
In the Modify Object area, Click Remove Underlying Stitches
 .
. -
Click the lower wing to select it, then click Remove Underlying Stitches
 . The number of stitches drops again.
Remove Underlying Stitches removes any underlay stitches, or other stitches, under a fill area.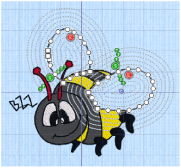
-
Use Ctrl + click to select both wings.
-
In the Convert drop-down list click "Pattern Fill to Echo Fill". The Echo Fill properties dialog box appears.
-
In Echo Area, select External and Internal Lines.
-
Ensure that Echo Lines is set to 5.
-
Set Spacing to 2mm.
-
Click OK to close the dialog.
-
Click outside the bumblebee to deselect the wings.
All of the icons are unavailable (grayed out) as no area of stitches is selected.
Note the end stitch number in the Control Strip.
The number of stitches is reduced, as shown by a lower end stitch number in the Control Strip.