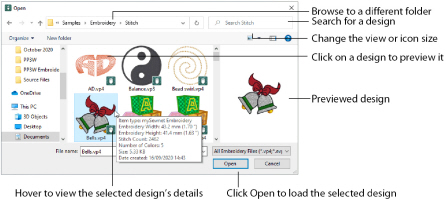
Use Insert ![]() to add an existing embroidery into your current project. The Open dialog is displayed so that you can choose an embroidery to insert. Multipart designs will be grouped automatically. Alignment stitches will be removed.
to add an existing embroidery into your current project. The Open dialog is displayed so that you can choose an embroidery to insert. Multipart designs will be grouped automatically. Alignment stitches will be removed.
The hoop and background are not shown when inserting an embroidery. Use Open ![]() to load a design with the hoop and background.
to load a design with the hoop and background.

Shortcuts
-
Quick Access Toolbar:

-
Keys: Ctrl + I; Alt, 1
Load an Embroidery
-
Click File at the top left to open the Welcome screen.
-
In the Welcome screen, click Blank Canvas

to start a new project. The Hoop selection dialog opens.
-
Click the Hoop icon

, and ensure that the hoop is set to 100mm x 100mm - Universal Square Hoop 1. Click OK.
-
Click Insert

.
-
In the Open dialog box, browse to the folder \mySewnet\Samples\Embroidery\Stitch. The embroideries in the folder will be shown.
-
Scroll down to show the thumbnail of the bells.
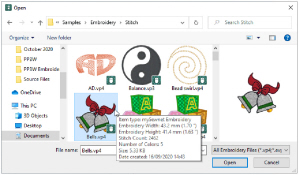
If you position the arrow pointer over a thumbnail without clicking, the details about the embroidery will be shown. -
Click the picture of the bells and the embroidery will be selected.
-
Click Open to load the embroidery onto the screen.
If desired, click Change Your View
to view icons of the embroideries.

