Print the active embroidery on the mySewnet™ Stitch Editor screen. Other information, such as the Dimensions, Color Information, Notes and Technical Information is printed depending on the choices made in Page Setup. The scale may also be altered and a grid turned on or off in Page Setup. If possible, the hoop will be printed with the same orientation as on the screen. If a horizontal hoop is too wide to fit on the paper at the Design Scale chosen in Page Setup then the hoop will be rotated 90 degrees when it is printed.
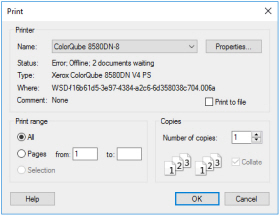
The Print dialog box appears, where you may specify number of copies, the destination printer, and other printer setup options.
If you are trying to print an embroidery that does not lie entirely inside its hoop then a message will appear instead of the Print dialog box. Solve this by changing the hoop size or adjusting the embroidery so that it fits the hoop.
Shortcuts
-
Quick Access Toolbar:

-
Keys: Ctrl + P; Alt, F, P
Select the printer you want to use.
Displays a dialog box where you can make additional choices about printing, specific to the type of printer you have selected.
When this option is checked, you will be prompted for a file name after you click OK. The print job will then be saved with the file name you specify and can be sent to the printer at a later time.
This is an advanced Windows® printing option.
Select the range of pages you wish to print.
Select the number of Copies you wish to print. If you choose to print more than one copy, you can choose to Collate the copies.