Use Insert  to insert existing outline designs (.edo or .can files) into the current design. The Open dialog is displayed so that you can choose a design to insert.
The design is inserted after the selected object or the last visible object in the design on the work area. The inserted design is automatically selected so that it can be moved, resized, mirrored, rotated, copied or cut. Designs are inserted at the size they were created, or automatically made small enough to fit the current hoop.
Use Insert to load a .can design outline file (from 5D™ or 4D™ Design Creator). Thumbnail image previews are not available for .can files. If the .can file contains a picture, the picture will not be loaded.
Shortcuts
-
Quick Access Toolbar; File Menu; Home Tab, Insert:

-
Keys: Ctrl + I; Alt, 1; Alt, H, IN
Load a Design
-
In the File menu, click New
 .
. -
In the Quick Access toolbar, click Insert
 .
. -
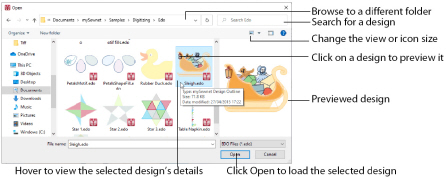
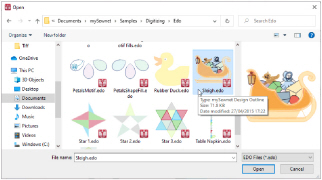
In the Open dialog box, browse to the folder Documents\mySewnet\Samples\Digitizing \Edo.
-
Click the picture of the sleigh and the design will be selected.
-
Click Open to load the design onto the screen.
Alternatively, click Insert in the Home tab.
If desired, click Change Your View ![]() to view icons of the designs.
to view icons of the designs.
You can use Insert to transfer design elements between design files. Simply delete all the objects from a design except the desired design element (for instance, in a floral design delete everything except one flower that you want to use somewhere else). Save the isolated design element as a new outline design file (.edo).
Open the design where you want to insert the isolated design element, then browse and insert it with Insert. If you do this several times then you will gradually build up your own library of design elements.